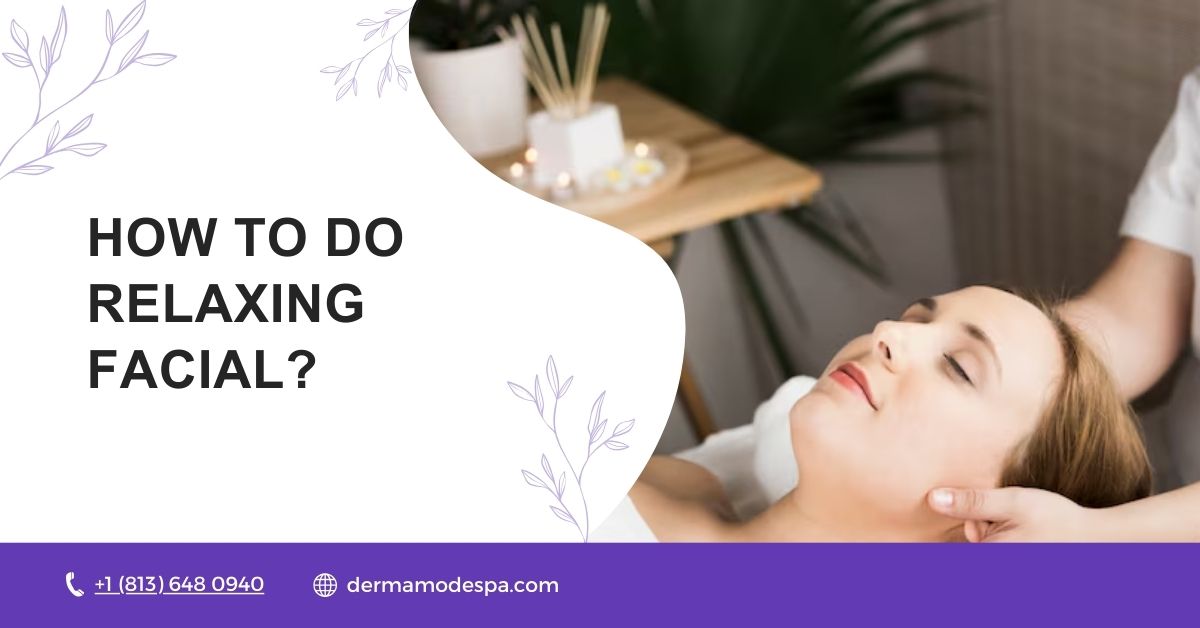
Indulging in a relaxing facial at home can be a luxurious experience that helps improve your overall health and well-being. With the right products and techniques, you can give your skin the care it deserves while also enjoying a calming moment for yourself.
In this guide, we will explore the essential steps to performing a relaxing DIY facial that not only hydrates your skin but also reduces tension in your body.
Step 1: Prepare Your Space and Products
Creating a tranquil environment is vital for a successful facial experience. Start by finding a quiet area where you can relax and focus on your facial at home. Gather all the products you’ll need, such as a gentle cleanser, exfoliator, moisturizer, and facial massage tools.
Ensure that your space is clean and free of distractions, allowing you to fully immerse yourself in the soothing practice. Lighting some candles or playing calming music can also enhance your relaxation.
Products You’ll Need:
For an effective facial, you will need some essential products. Begin with a mild cleanser to remove impurities from your face. Next, an exfoliator is crucial to help eliminate dead skin cells and reveal a fresh layer of skin.
You should also have a rich moisturizer on hand to hydrate your skin afterward. Lastly, consider using facial oils or serums that can improve blood flow and add luxury to your treatment, ensuring your skin feels rejuvenated and pampered.
Step 2: Cleanse Your Face Thoroughly
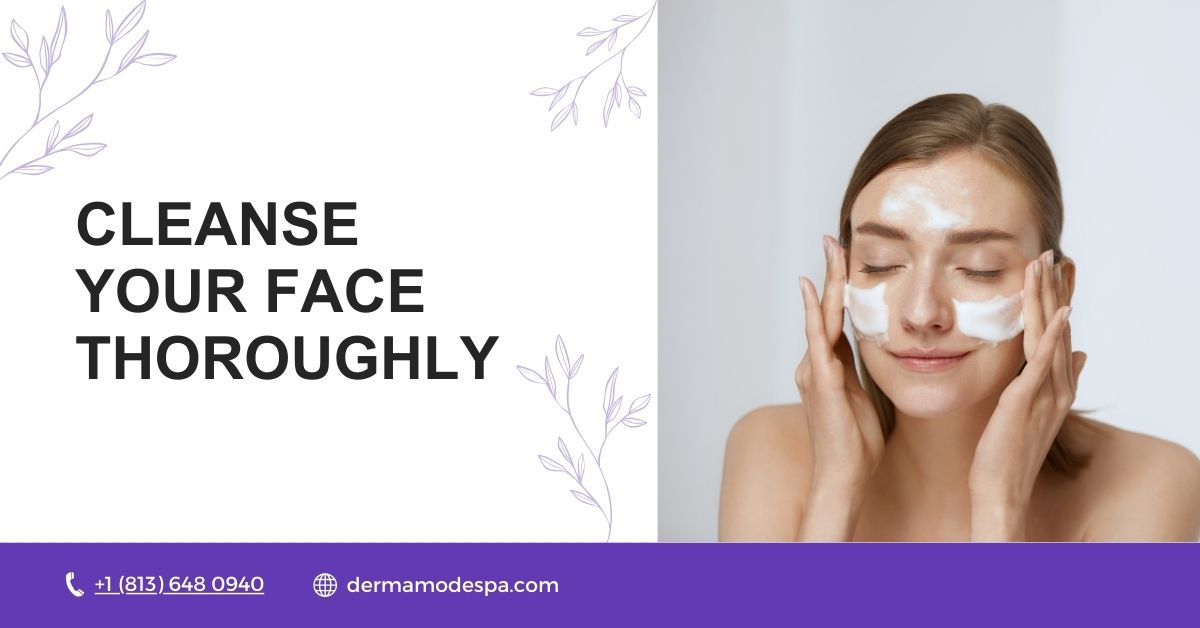
The first step in your facial journey is to cleanse your face thoroughly. Use your fingertips to apply the cleanser in a circular motion, starting from the forehead and moving down toward the neck. This technique not only helps to remove makeup and dirt but also encourages relaxation through gentle facial massage.
Take your time to really work the product into your skin, focusing on areas like the nose, cheeks, and jaw, where tension often builds up. Rinse with lukewarm water to prepare your skin for the next step.
How to Cleanse:
To cleanse effectively, apply a small amount of your chosen cleanser to your fingertip. Begin at the center of your forehead and move in circular motions towards the temples, then glide down to the cheeks and jawline.
This method not only cleanses the skin but also improves blood flow and reduces tension. As you cleanse, allow yourself to enjoy the process, feeling the product work to hydrate and treat your skin as well as your mind.
Step 3: Exfoliate to Remove Dead Skin Cells
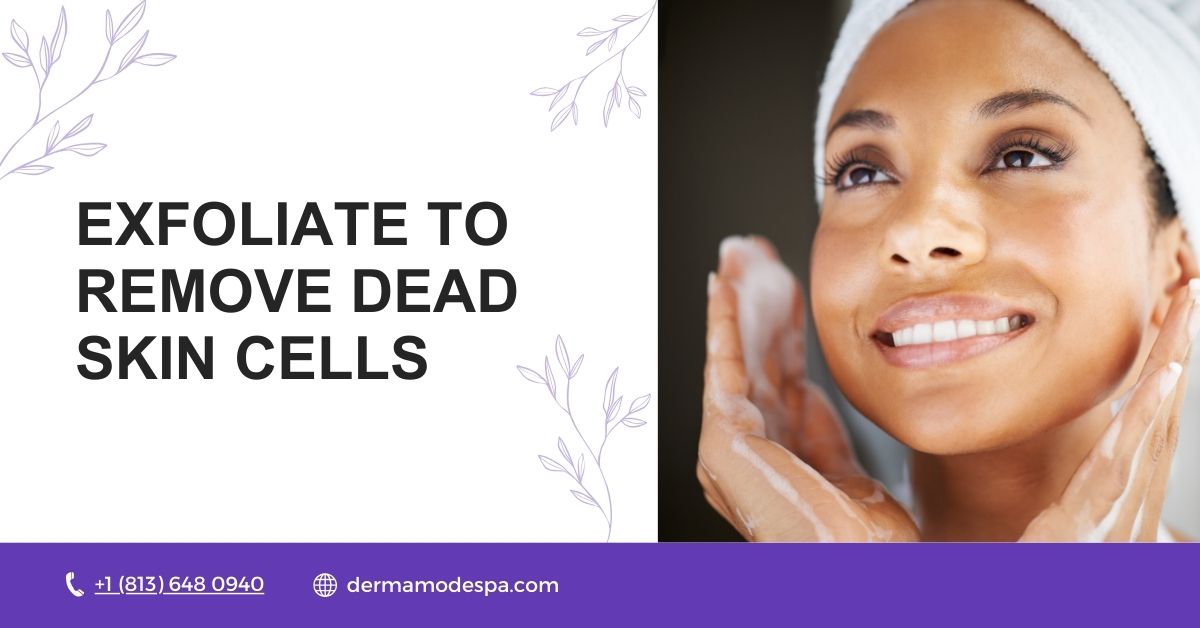
Next, it’s time to exfoliate your skin. Exfoliating helps to remove dead skin cells, giving your face a fresh and radiant appearance. Choose a gentle exfoliator that suits your skin type, and apply it using your fingertips in small, circular motions.
Focus on areas that may need a little extra attention, like the nose and forehead. This step may feel a bit invigorating, but be mindful not to apply too much pressure, as the goal is to relax, not irritate.
How to Exfoliate:
Using a gentle exfoliator, start by applying a small amount to your fingertips. Work it into your skin using soft, circular movements, beginning from the center of your face and moving outward. Pay attention to the cheek area and avoid delicate spots like the eye contour.
This process will help you feel refreshed and improve the texture of your skin while promoting relaxation. Rinse thoroughly with water to remove the exfoliator, preparing your skin for hydration.
Step 4: Steam to Open Up Pores
Steaming is a vital step in your DIY facial as it helps to open up the pores, making it easier to remove impurities and excess oils from your skin. Begin by boiling water and pouring it into a bowl. Allow it to cool slightly before leaning over the bowl with a towel draped over your head, creating a tent-like effect. This practice not only hydrates your skin but also enhances relaxation, as the warm steam increases blood flow, allowing your skin to better absorb subsequent products.
How to Steam:
To steam your face effectively, position yourself comfortably over the bowl of hot water, ensuring the distance is appropriate to avoid burns. You may want to keep your eyes closed during this process to enhance your relaxation. The steam will work to soften the skin and prepare it for the next steps in your facial. This gentle heat also helps to relieve tension in your body and can even improve overall health by promoting circulation and encouraging detoxification.
Step 5: Apply a Facial Mask
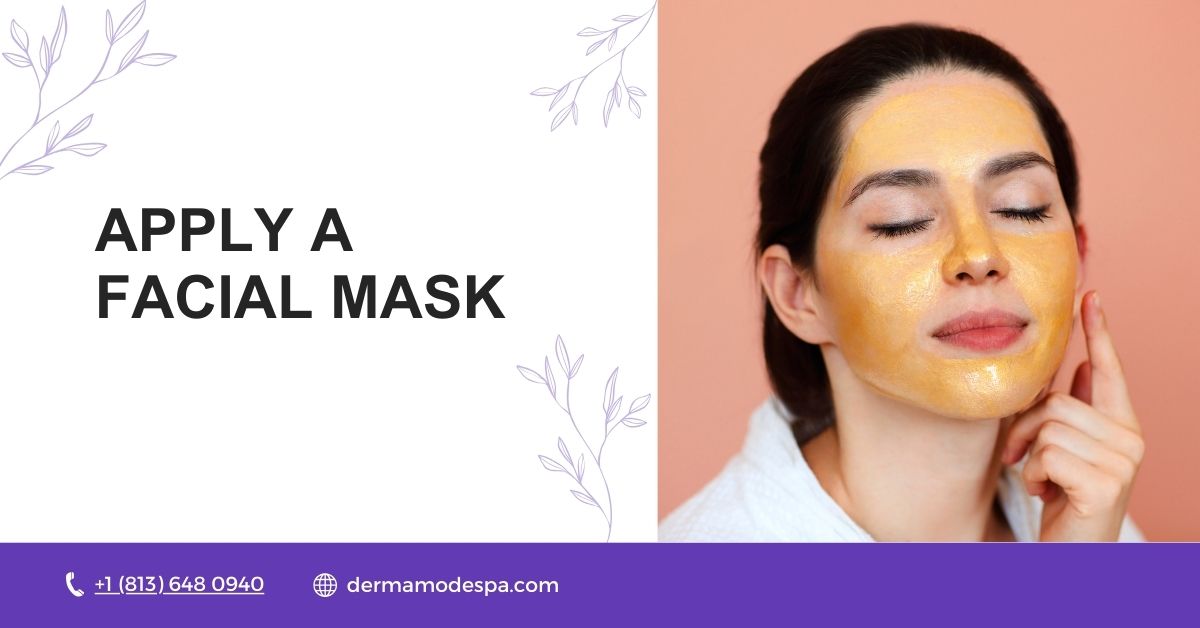
Applying a facial mask is a luxurious step that allows you to treat your skin with concentrated ingredients designed to hydrate and rejuvenate. Choose a mask suited to your skin type, whether it’s hydrating, purifying, or soothing. Spread the mask evenly over your face using your fingertips, making sure to avoid the eye area. Allow the mask to sit for the recommended time so your skin can fully absorb the beneficial properties, enhancing the overall experience of your facial at home.
How to Apply a Mask:
When applying a facial mask, start with clean hands to avoid introducing bacteria to your skin. Use your fingertips to gently spread the product in a circular motion, working from the center of your face outward. Be mindful to cover all areas, including the forehead, cheeks, and chin, while avoiding the delicate eye area. This step not only provides targeted treatment but also allows for a moment of relaxation, as you can take this time to unwind and enjoy the soothing sensation of the mask on your skin.
Step 6: Tone to Balance Skin pH
Toning is an essential step in your facial routine that helps to balance your skin’s pH levels after cleansing and masking. A good toner can tighten the pores, remove any leftover impurities, and prepare your skin for moisturizing. Apply the toner using a cotton pad or your fingertips, gently sweeping it over your face in upward strokes. This step also helps to calm the skin and can increase the effectiveness of your moisturizer, ensuring your skin feels refreshed and hydrated.
How to Tone:
To tone your skin effectively, choose a suitable toner that matches your skin type. Begin by saturating a cotton pad with the product and gently swipe it across your face, starting from the center and moving outward in a circular motion.
This method not only distributes the toner evenly but also promotes relaxation as you perform this gentle facial massage. The toning process helps to restore balance to your skin, making it feel rejuvenated and ready for the final step of hydration with your favorite moisturizer.
Step 7: Apply a Serum for Targeted Treatment

Applying a serum is a crucial step in your DIY facial that allows you to treat specific skin concerns effectively. Serums are often packed with concentrated active ingredients that can help improve blood flow and enhance hydration.
Start by selecting a serum that aligns with your skin’s needs, be it for hydration, anti-aging, or brightening. Use your fingertips to apply the product in a gentle, circular motion, focusing on areas that may require extra care, such as around the forehead, cheeks, and jaw.
How to Apply Serum:
To apply your chosen serum effectively, dispense a small amount onto your fingertip and gently dab it on your face. Begin at the center and work outward in a circular motion, ensuring even distribution. This technique not only helps the serum absorb better but also encourages relaxation through light facial massage.
Take your time with this step, allowing the serum to penetrate the skin fully while you enjoy the calming experience of this luxurious treatment.
Step 8: Moisturize to Lock in Hydration
Moisturizing is the final step in your facial routine that locks in all the hydration and treatment benefits you’ve just applied. A good moisturizer will help to create a barrier on your skin, preventing moisture loss and ensuring that the active ingredients from your serum work effectively.
Choose a rich, hydrating product that suits your skin type, and apply it generously using gentle, upward motions to promote relaxation and improve blood flow to the area.
How to Moisturize:
When moisturizing, start by dispensing a suitable amount of product into your palm. Rub your hands together to warm the moisturizer slightly, then apply it to your face using your fingertips. Begin at the forehead and work your way down to your neck in a circular motion.
This method not only hydrates your skin but also feels soothing, helping to calm any tension in your facial muscles. Make sure to cover every area, including your cheeks and jawline, for a complete moisturizing experience.
Step 9: Facial Massage for Deep Relaxation

Incorporating a facial massage into your routine can significantly enhance the relaxation and effectiveness of your facial at home. A gentle facial massage helps to stimulate blood flow, reduce tension, and promote overall skin health.
Use your fingertips to perform light, circular movements around your face, focusing on areas like the temples, jaw, and forehead. This practice not only helps your skin absorb products better but also gives you a moment to unwind and feel rejuvenated.
How to Massage:
To perform a facial massage, start by applying a small amount of oil or moisturizer to your fingertips. Using gentle pressure, begin at the center of your forehead and move in a circular motion towards your temples. Gradually work your way down to your cheeks and jaw, ensuring to spend a little extra time on areas where tension often builds.
This mindful practice will not only relax your facial muscles but also improve blood circulation, enhancing your skin’s overall appearance and texture.
Final Tips for an Effective Relaxing Facial
To ensure your relaxing facial experience is as effective as possible, consider a few key tips. To maximize the benefits of a relaxing facial, ensure a serene environment by dimming the lights and playing soothing music. First, always choose products that suit your skin type and concerns to maximize the benefits of your treatment.
Second, create a calming atmosphere by dimming the lights, playing soft music, or using aromatherapy to engage your senses. Lastly, take your time with each step, allowing yourself to relax and enjoy the process, ultimately improving both your skin’s health and your overall well-being.
